A part is the most basic 3D object in Roblox that comes in five different shapes: ball, block, cylinder, wedge, and corner wedge. These parts are the basic building blocks in Roblox with properties such as position, size, orientation, and color. You can use these parts as is or you can combine them to make complex structural shapes.
Each part has a variety or properties that you can customize using the Properties window. In the post below, we will see how to create a part and change its properties through a script. The objective of this script is to change the color of a part in Roblox. So, let’s start with the properties of a part and we move on to setting up the project and script and relationships.
Step 1: Create a Project in Roblox Studio
On opening Roblox studio , it shows all the available templates. Select the baseplate template, it opens a page in the studio as shown below.
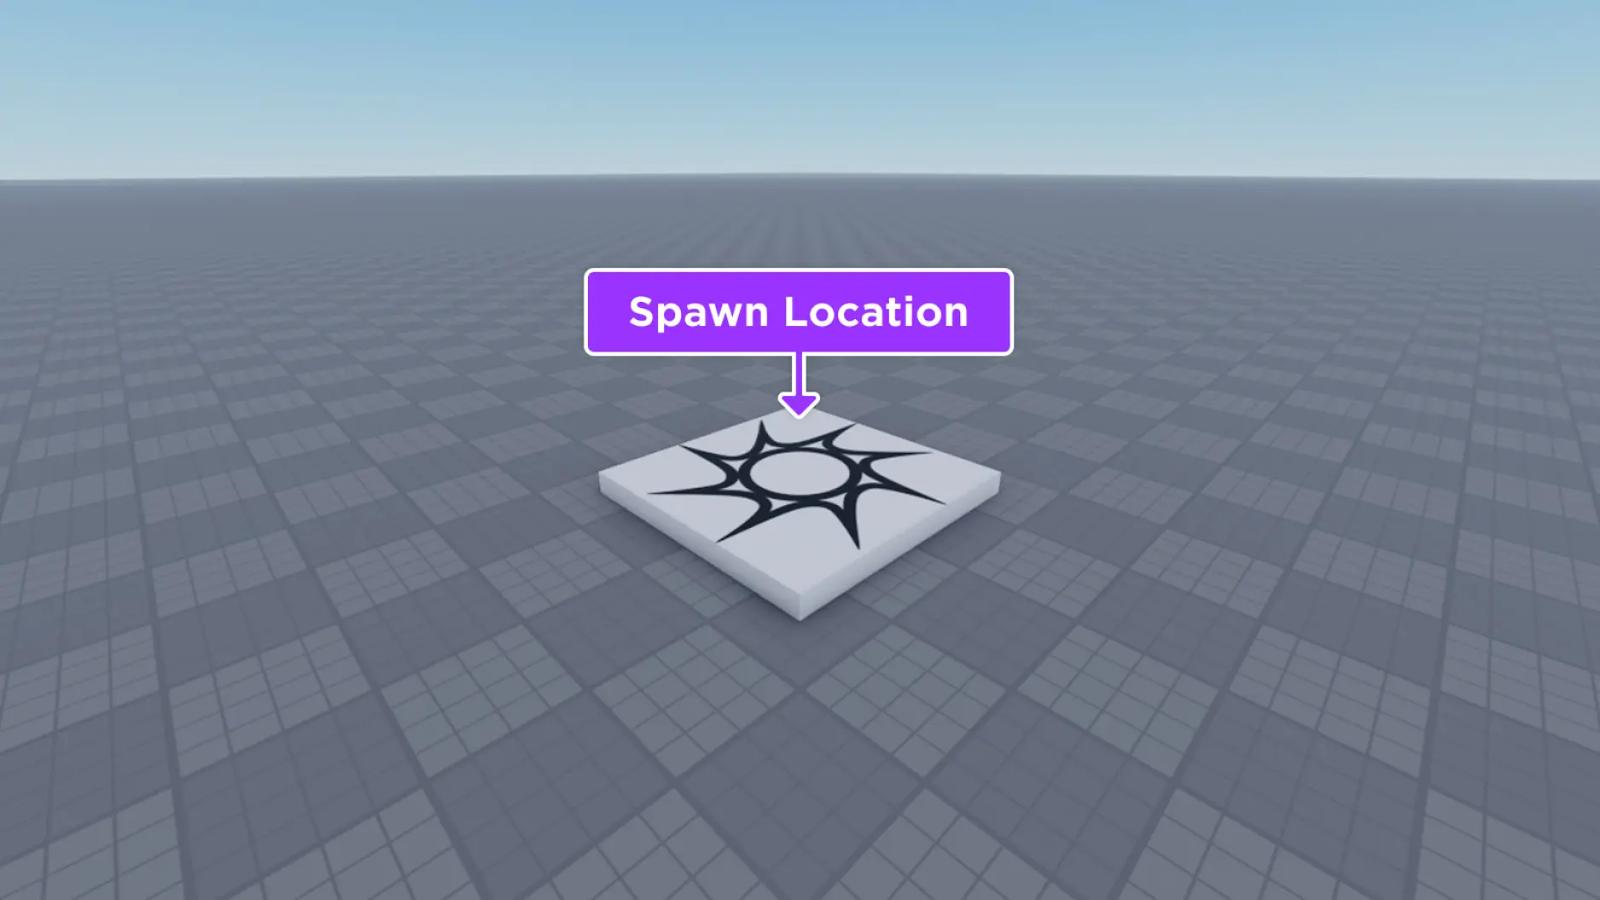
It has a baseplate and a spawn location. Spawn location is a place where characters added to the project will spawn.
Step 2: Adding parts to the project
One can add different 3D objects in the project. There are two types of 3D objects available in Roblox such as Part and Mesh.
Parts – A Part object is Studio’s primitive 3D object that comes in five different shapes: ball, block, cylinder, wedge, and corner wedge.
Meshes – A MeshPart object is a collection of vertices, edges, and faces that make up an object from a third-party modeling application.
Click on the part option in Roblox studio. On clicking the part, it asks you to select the part. On selecting the part, it appears on the baseplate as shown below.

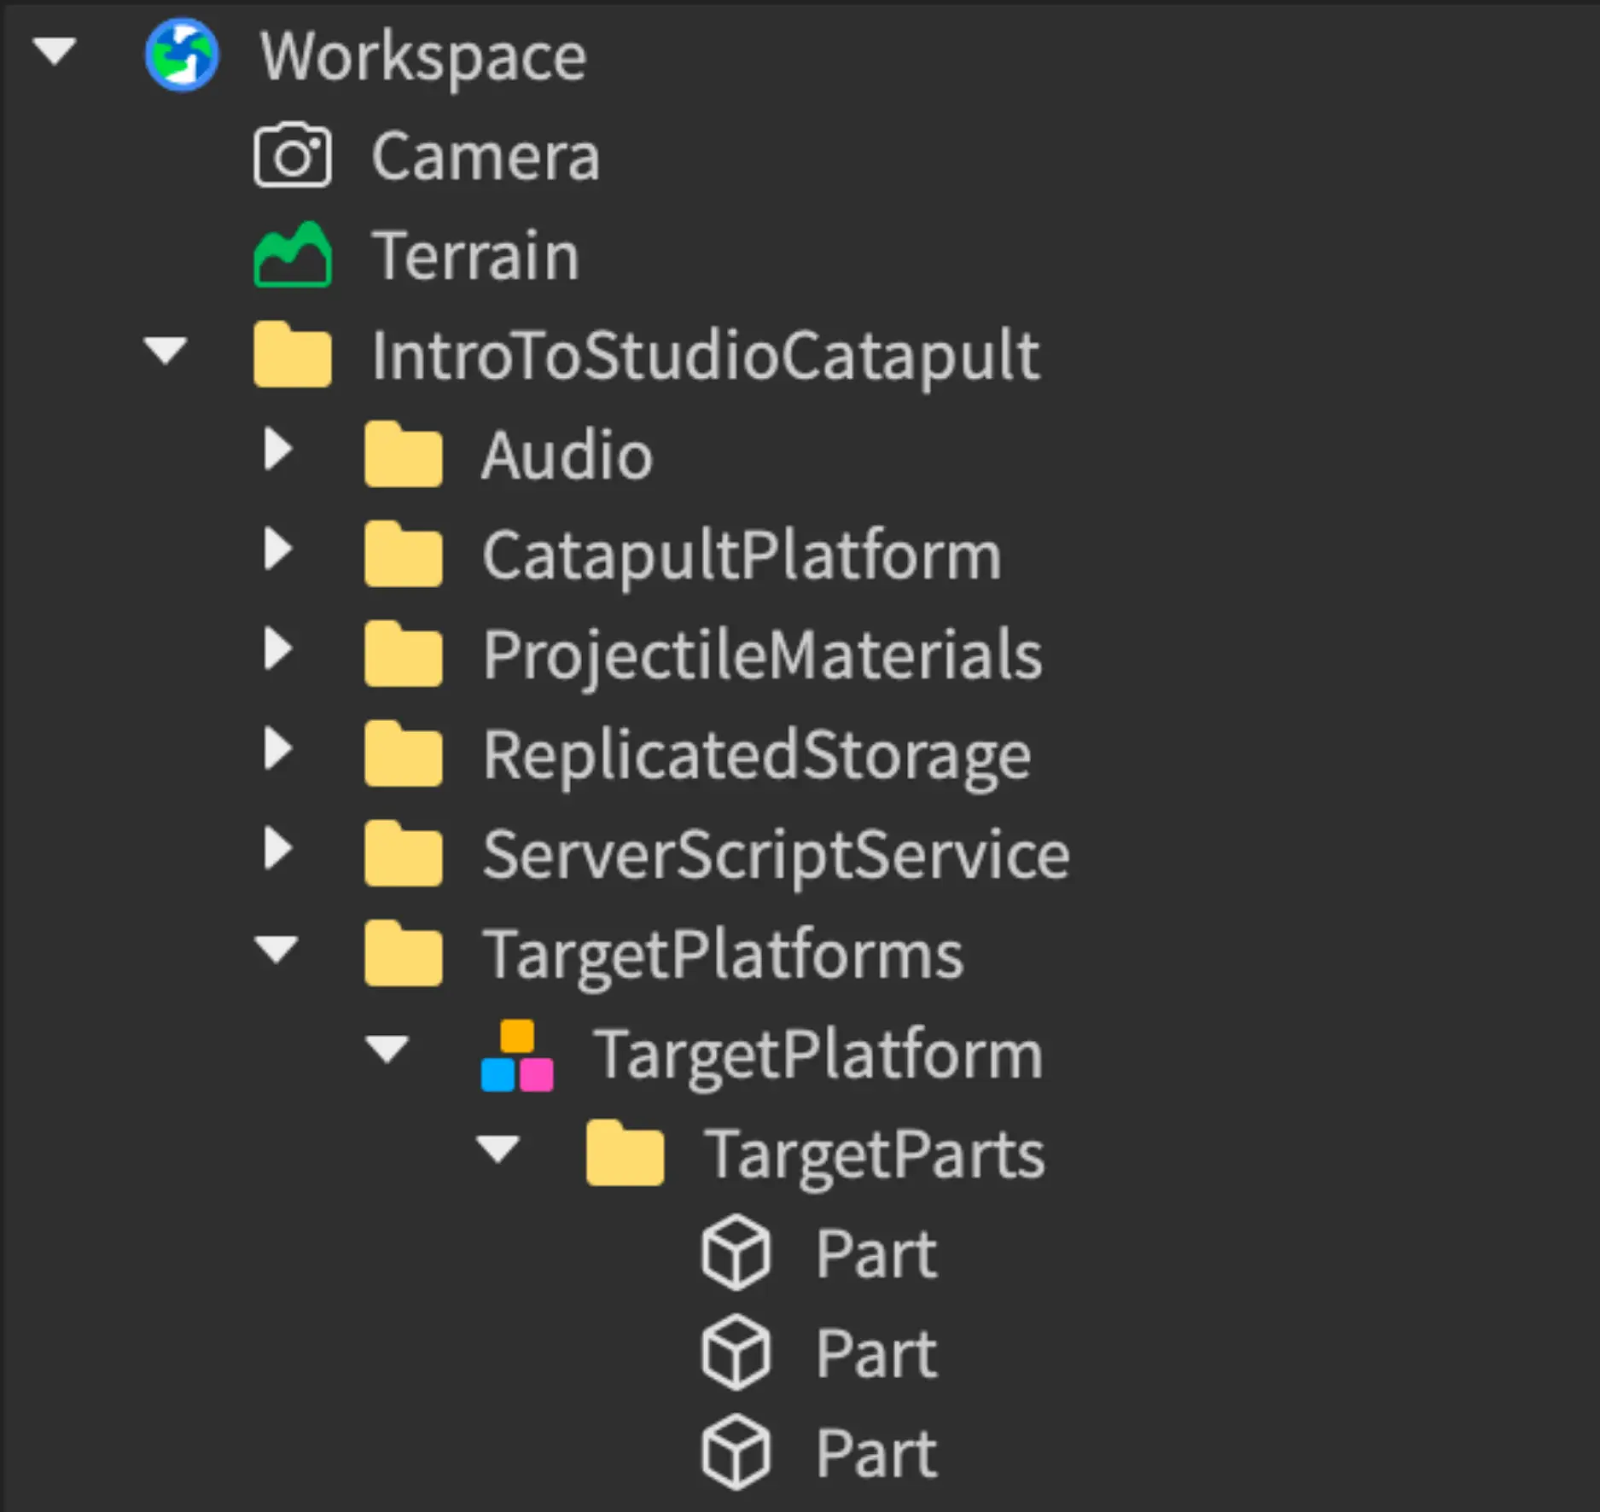
You can see the part getting created in the workspace as shown above. One can right click on each part and change the name as per the requirement.
Step 3: Changing the Properties of the added part
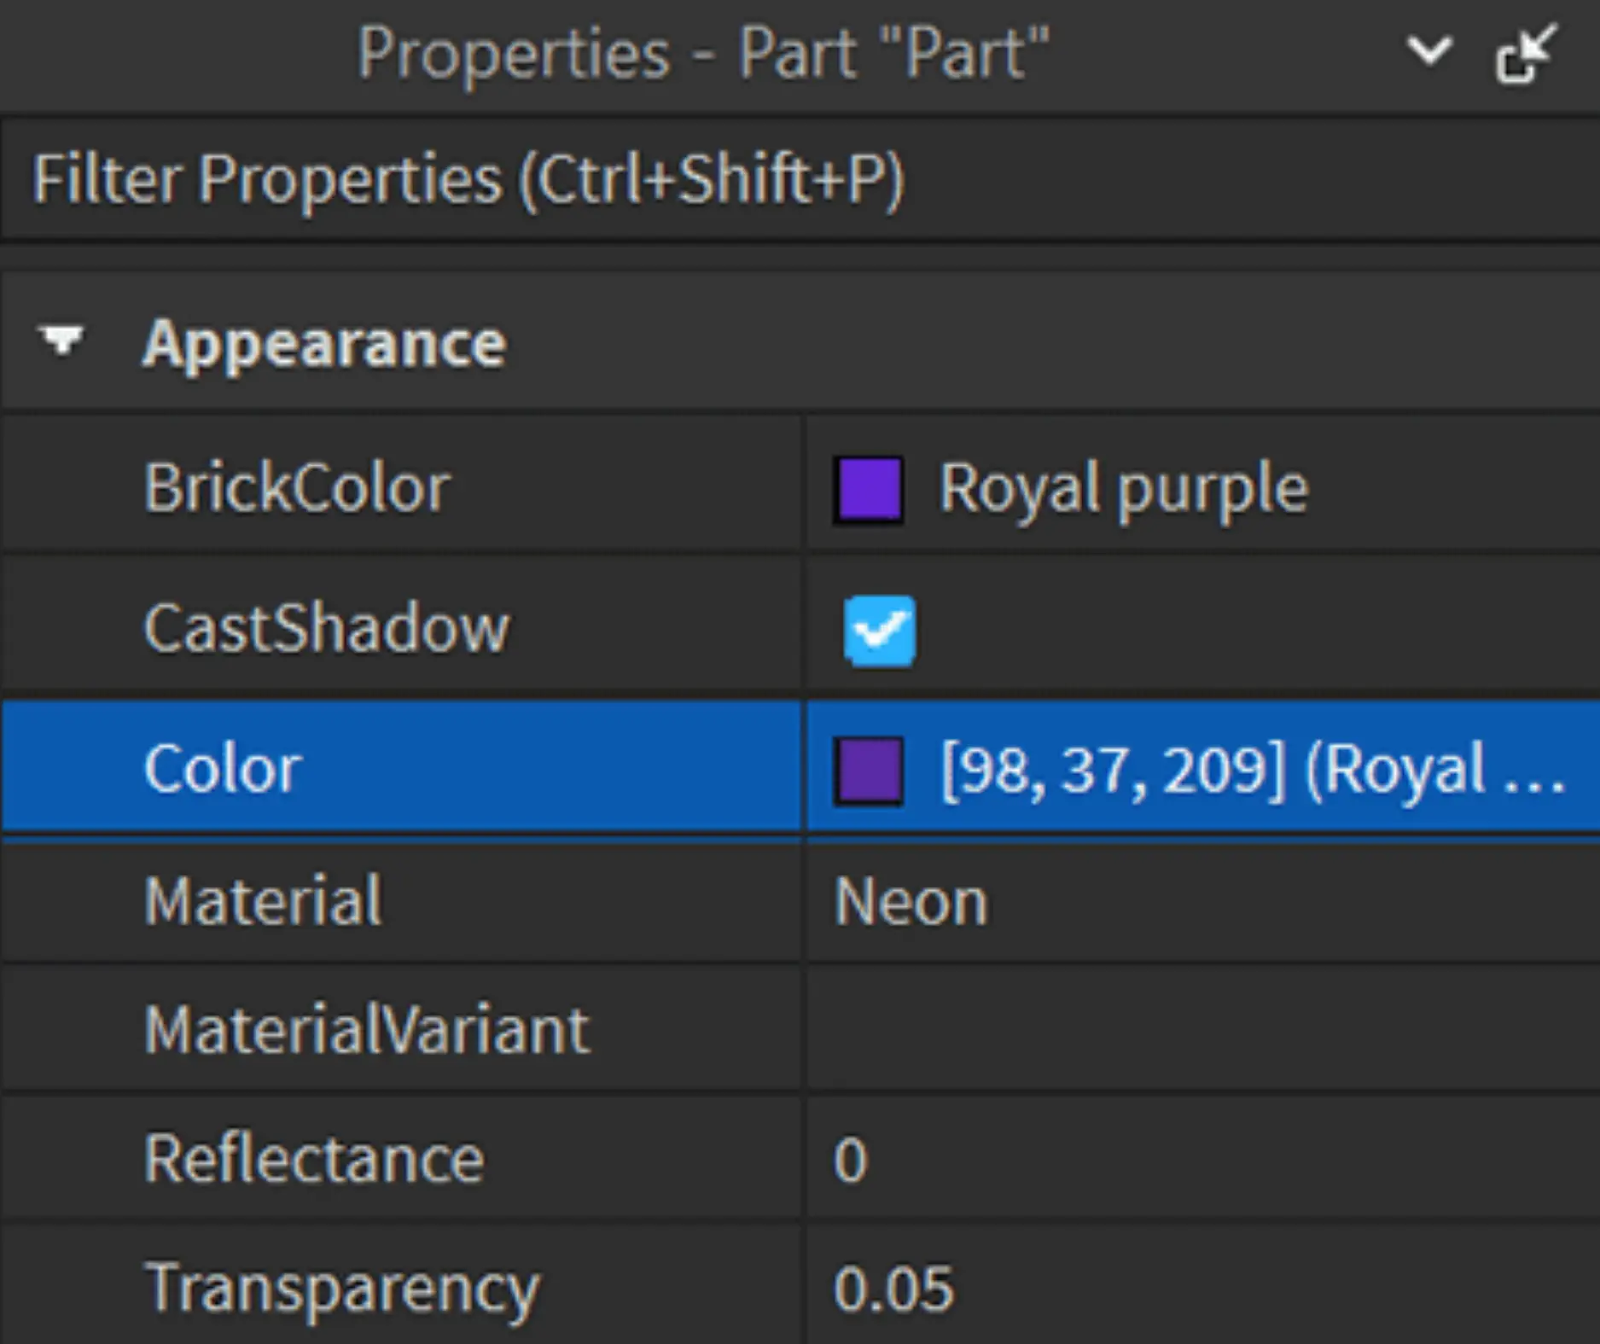
Properties control how parts look and function. Each part in Roblox Studio has its own set of properties. For example, a part object has color, size, and shape properties. Properties can be changed in the Properties window or through code.
On selecting the part, the properties window opens in the bottom right corner as shown below. In the Properties Window on the bottom-right, look at the different properties that can be changed, like color, size, material and transparency. You can also change most properties in this window from within a script.
The Properties window can be used to learn about an object’s properties. Use it to take a look at a part’s properties.
The Properties Window
If you don’t see the Properties window, go to the View tab and click the Properties button.
Step 4: Changing a Property with Script
Hover over the part in the Explorer window and click the + button to insert a new script into the platform. Rename the script to changecolor.It will open the script window as shown below.
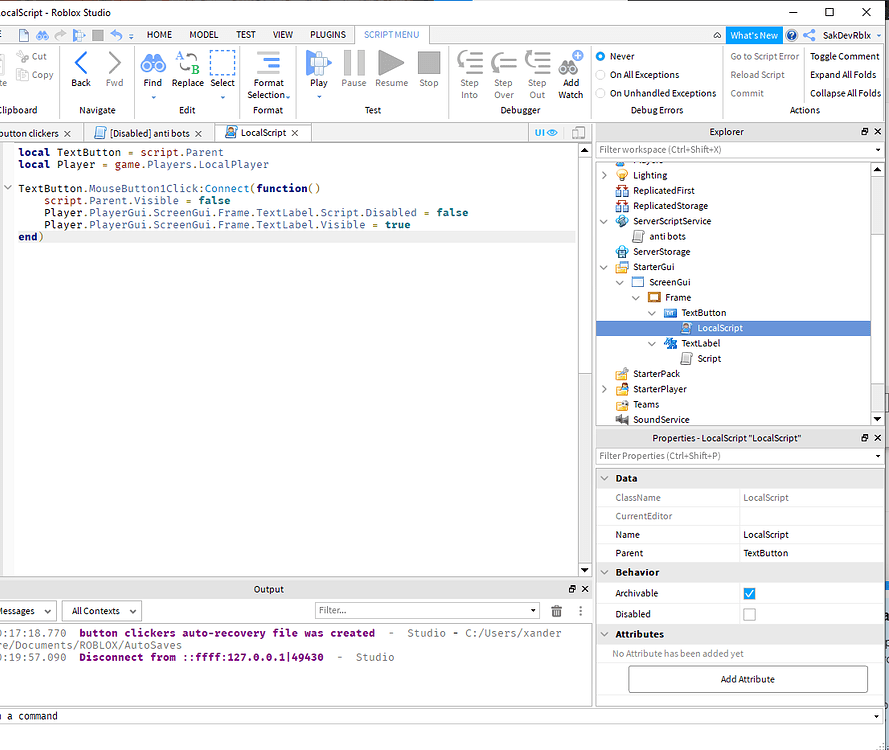
Delete the default code and add the below code in the script.
— Changes the color of a part
workspace.PracticePart.Color = Color3.fromRGB(255, 230, 50)
For the part, the script will change its Color property to a new Color3, a data type that stores colors.
You’ll use an RGB value to change the part’s color. Computers use RGB values, the combination of red, green, and blue, to create all the colors on your screen.
RGB values use three numbers from 0 to 255, separated by commas. For example, black is (0, 0, 0) while white is (255, 255, 255).
— Changes the color of a part
workspace.part.Color
The above line of code accesses the Color property.
Color3.fromRGB()
This code will allow you to assign a new color.
RGB color values can be manually typed inside the parentheses, but using the color picker is easier. Click inside the parentheses, and then click the color wheel. Follow the popup to create a color.
If you want to type an RGB value manually, make sure each number is between 0 to 255 and separated by commas, such as (10, 50, 10).
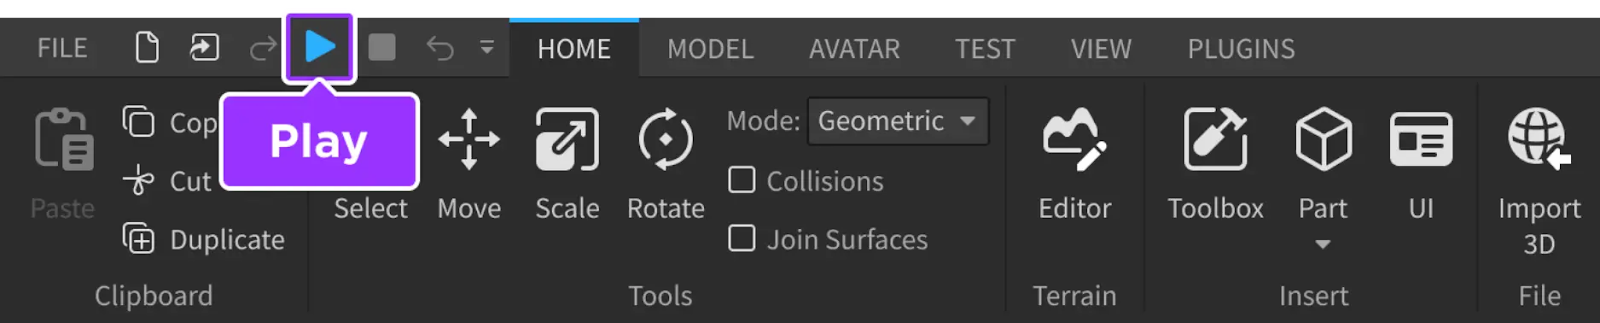
Press Play to test that your part changes color.
Step 5: Run the Script
In the menu bar, click the Play button. Studio enters playtest mode. It will run the code written in the script.
It will change the color of the part.
When you’re done play testing, navigate back to the menu bar and click the Stop button. Studio exits playtest mode.
Hope this is useful, thank you.
You may like to read: App Development for Kids, Scratch Projects for Kids, & Why Should Kids Learn Roblox?