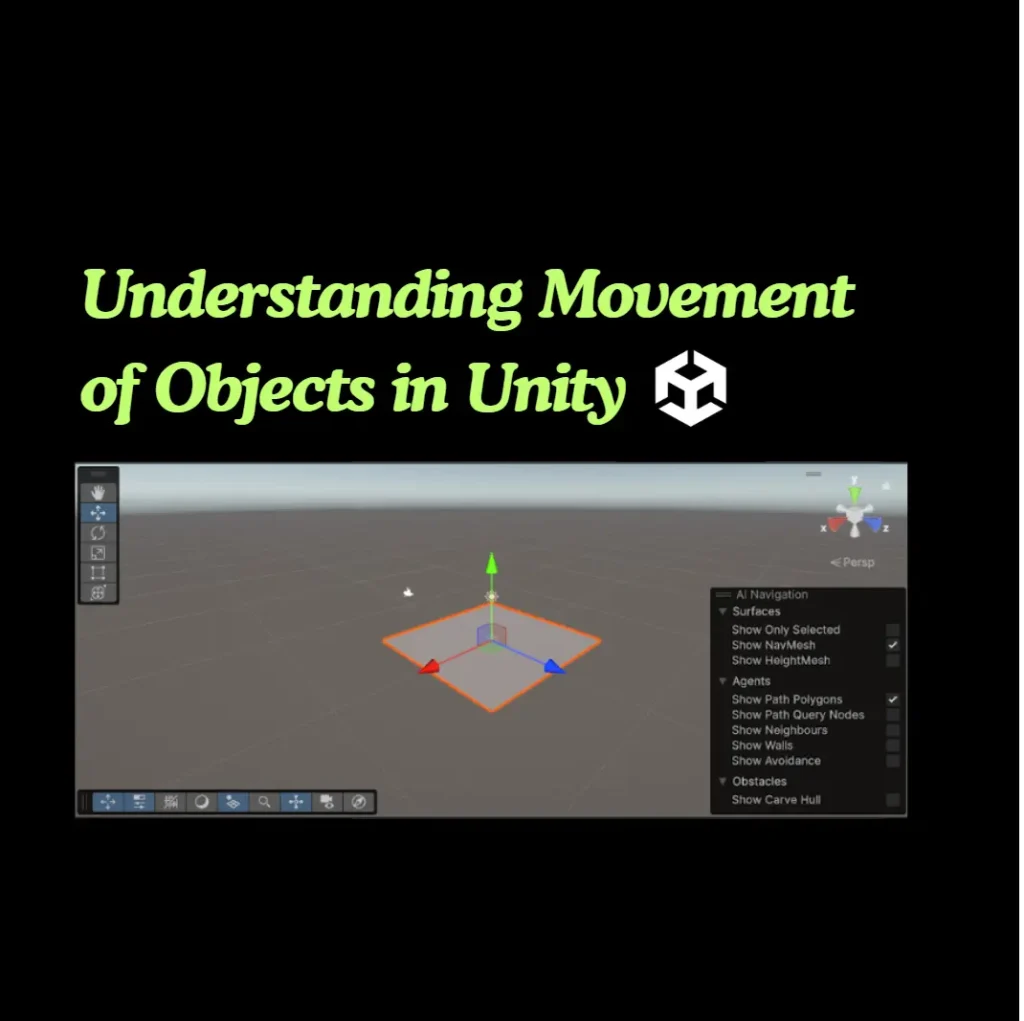
Children will learn to make 2D and 3D games in the gaming platform, Unity, in our 3D Game Development course. During the course, the child will learn all the coding fundamentals of the programming language C#. 2D and 3D game development concepts are used in C# language. This is a short post about how an object in Unity can be controlled using arrow keys.
Step 1 : Create a New Project in Unity Hub
Select Universal 3D template, give an appropriate name to the project and then click on create project as shown below.
On clicking create project, it will open a new project.
Step 2: Creating a plane as part of designing the game
Click on + under Hierarchy window, select 3D object and plane. It will create a plane as shown below.
You can use the colored arrow as shown above to move the plane as per the requirement.
Click on the scale tool as shown below to increase the size of the plan in any axis as required.
Click on the game view as shown below to see how the plane would look on running the game.
Step 3: Creating the cube
Click on + under Hierarchy window, select 3D object and cube. It will create a cube as shown below.
You can use the colored arrow as shown above to move the plane as per the requirement.
Click on the scale tool as shown below to increase the size of the plan in any axis as required.
Step 4: Creating a new script and attaching the script to the cube
Go to the project window at the bottom, right click, select create -> scripts-> empty C# script
Rename the script as per your requirement.
Drag the script and place the mouse on the cube. It will attach the script to the cube as shown below.
Step 5: Writing the code in the script
Double click on the script created , it will open the visual studio editor.
The script will have two inbuilt functions start() and update() as shown above.
The code written inside the start function will be executed once whereas the code written inside the update() function will be executed forever until the execution of the code is stopped.
Write the below code in the update() function and save the code.
using System.Collections;
using System.Collections.Generic;
using UnityEngine;
public class movecube : MonoBehaviour
{
// Start is called before the first frame update
void Start()
{
}
// Update is called once per frame
void Update()
{
if (Input.GetKey(KeyCode.LeftArrow))
{
transform.Translate(-0.2f, 0, 0);
}
if (Input.GetKey(KeyCode.RightArrow))
{
transform.Translate(0.2f, 0, 0);
}
if (Input.GetKey(KeyCode.UpArrow))
{
transform.Translate(0, 0.2f, 0);
}
if (Input.GetKey(KeyCode.DownArrow))
{
transform.Translate(0, -0.2f, 0);
}
}
}
Explanation of the code:
if (Input.GetKey(KeyCode.LeftArrow))
{
transform.Translate(-0.2f, 0, 0);
}
The above code checks if the left arrow key is pressed on the keyboard. If it is pressed, move the cube in the negative x axis by -0.2. It will move the cube by -0.2 from right to left from the original position of the cube.
Step 6: Run the code and check
After saving the code, come back to unity and click on run button on the top to check if the code is working.
You should be able to move the cube using left, right, up and down arrow keys.
Hope this is useful, thank you.
You may like to read: Can we trust jpg files?, Most popular FPS games in Roblox, & Intrusion Detection Systems


